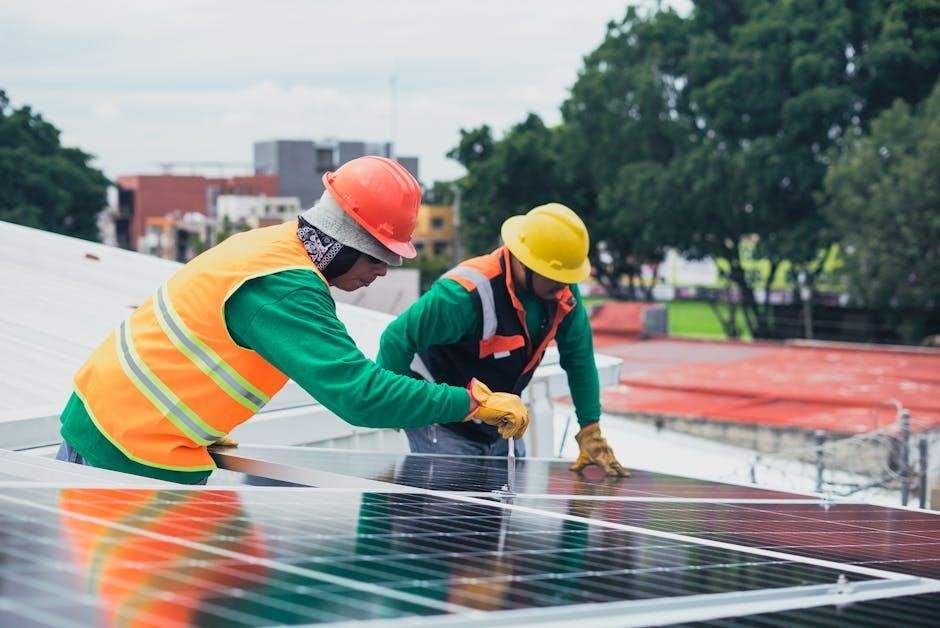
Unirac, a leading solar racking manufacturer, offers the NXT system, a state-of-the-art mounting solution designed for residential and commercial solar installations, ensuring durability and code compliance with UL 3741 standards.
1.1 Overview of Unirac and Its Products
Unirac, a leading manufacturer of solar racking and mounting systems, offers innovative solutions for residential and commercial solar installations. Founded in 1998 and acquired by the Hilti Group in 2010, Unirac has over 25 years of experience, with more than 25 GW of installed capacity and over 2.5 million installations worldwide. Known for high-quality materials and ease of installation, their products ensure long-term durability and weather resistance. Unirac provides a one-stop solution for solar panel mounting needs, adhering to ISO certifications for quality, environment, and safety. Their commitment to innovation and sustainability makes them a trusted partner in the solar energy industry.
1.2 Key Features of the Unirac NXT System
The Unirac NXT system is renowned for its durability, ease of installation, and compliance with industry standards like UL 3741. It features high-quality, weather-resistant materials and innovative tilt leg components for precise angle adjustments. The system offers versatile roof and rail attachment options, ensuring compatibility with various installation scenarios. Designed for both residential and commercial use, NXT provides a secure and efficient mounting solution. Its components, including the NXT Rail, are lightweight yet robust, making installation faster and more efficient. Additionally, the system supports seamless integration with engineering tools like U-Builder for optimal rail spans and layouts, ensuring a reliable and long-lasting solar infrastructure.

Pre-Installation Requirements
Ensure site assessment, proper tools, and safety gear are ready. Review design guidelines and local codes. Prepare all materials and PPE for a safe and efficient installation process.
2.1 Site Assessment and Planning
Conduct a thorough site assessment to evaluate roof conditions, structural integrity, and environmental factors. Ensure the roof type, orientation, and obstructions align with the Unirac NXT system requirements. Verify load-bearing capacity and local building codes. Plan the layout to optimize energy production while maintaining safety. Use manufacturer guidelines and tools like U-Builder for precise system design. Identify potential challenges and develop solutions. Proper planning ensures compatibility, efficiency, and compliance, preventing future issues. Always document findings and share with the installation team for a smooth process. Skipping this step risks installation errors and system inefficiency.
2.2 Tools and Materials Needed
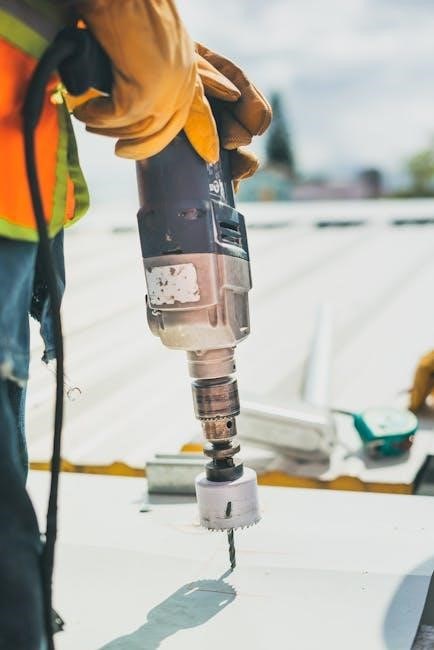
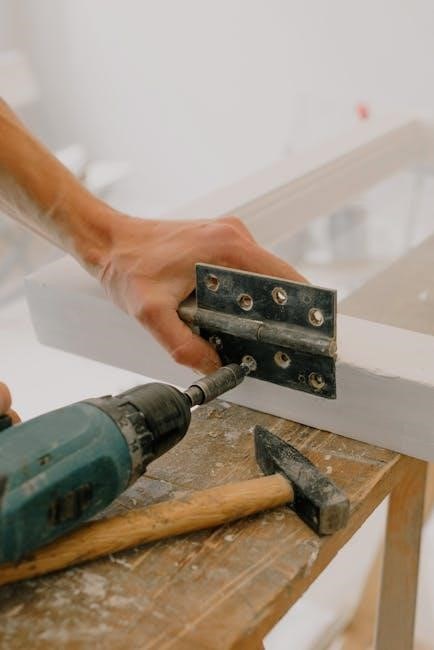
To install the Unirac NXT system, gather essential tools and materials. Tools include a torque wrench, screwdrivers, drills, impact wrench, measuring tape, and level. Materials comprise roof anchors, mounting brackets, nuts, bolts, and the Unirac NXT components like rails and clamps. Ensure compatibility by referencing the manufacturer’s manual. Additional items like sealants and flashing may be required for weatherproofing. Organize all materials before starting to avoid delays. Verify that all components are included and undamaged. Proper preparation ensures a smooth installation process and adherence to safety standards. Always check local regulations for specific requirements. Plan accordingly to complete the installation efficiently.
2.3 Safety Precautions
Ensure all safety protocols are followed during installation; Wear personal protective equipment (PPE) such as hard hats, safety glasses, gloves, and a harness when working at heights. Verify the structural integrity of the roof before commencing work. Avoid installations during extreme weather conditions like heavy rain, ice, or strong winds. Use proper ladder safety techniques, ensuring three points of contact. Keep tools and materials organized to prevent tripping hazards. Avoid overreaching or overloading yourself. Follow electrical safety guidelines, ensuring all circuits are de-energized before handling. Adhere to local regulations and manufacturer instructions to minimize risks. Always maintain awareness of your surroundings for a safe working environment.

System Components
The Unirac NXT system includes modular components designed for solar panel mounting, ensuring stability and durability. These components adapt to various roof types and comply with industry standards.
3.1 Overview of NXT UMOUNT Components
The Unirac NXT UMOUNT components are designed to provide a secure and adaptable mounting solution for solar panels; These components are modular, allowing for easy customization to fit various installation scenarios. The system includes clamps, brackets, and mounting hardware that ensure compatibility with different solar panel sizes and configurations. Made from durable, weather-resistant materials, the UMOUNT components are built to withstand harsh environmental conditions. Their streamlined design minimizes installation time while maximizing stability and safety. These components are integral to the NXT system, offering a reliable foundation for solar panel installations.
3.2 Tilt Leg Components and Their Functions
The tilt legs are essential components of the Unirac NXT system, designed to support solar panels at optimal angles for energy generation. These legs are constructed from durable materials to ensure stability and longevity. Their primary function is to elevate and tilt the panels, maximizing sunlight exposure while maintaining structural integrity. The legs feature adjustable mechanisms, allowing installers to customize the tilt angle based on site-specific requirements. They also include secure mounting points for attaching panels and rails, ensuring a safe and reliable connection. The tilt legs are designed to minimize installation complexity while providing flexibility for various solar panel configurations and orientations.
3.3 Roof and Rail Attachment Options
Roof and rail attachment options are critical for securing solar panels to various roof types. Unirac NXT offers versatile attachments compatible with asphalt shingle, metal, and tile roofs, ensuring long-term stability and preventing leaks. The rail attachments are designed to hold panels securely, allowing adjustability for optimal energy capture. These components are engineered for durability and ease of installation, catering to different solar panel configurations. Proper selection ensures a reliable and efficient solar mounting system.
Installation Process
The Unirac NXT installation process involves rail installation, tilt leg adjustment, and panel securing. Follow manufacturer guidelines for safety, compliance, and optimal system durability and performance.
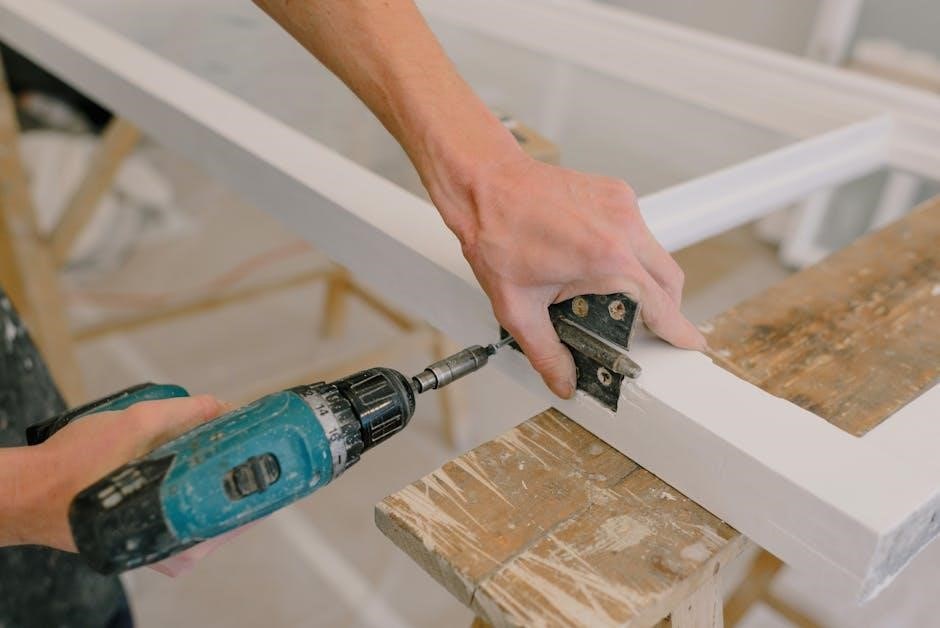
4.1 Locating and Marking Roof Attachments
Accurate placement of roof attachments is critical for structural integrity. Begin by reviewing engineering plans to identify attachment points, ensuring compliance with local building codes. Measure from reference points like eaves or roof ridges to mark locations. Use a chalk line or laser marker to clearly define positions. Ensure spacing aligns with system design and verify measurements against structural elements like rafters. Double-check alignment before drilling to prevent errors. Proper marking ensures secure installation and optimal system performance, adhering to safety and durability standards outlined in the Unirac NXT manual.
4.2 Rail Installation and Splicing
Install rails following the pre-determined layout, ensuring they align with marked roof attachments. Secure each rail to the attachments using the provided hardware. When splicing rails, align the ends precisely and use the splice kits. Tighten all bolts firmly. Ensure splices are flush and level for even weight distribution. Verify that all connections are secure to prevent shifting. Proper rail installation and splicing are critical for the structural integrity and long-term performance of the solar panel system.
4.3 Tilt Leg Geometry and Angle Adjustment
Accurate tilt leg geometry ensures optimal solar panel orientation for maximum energy production. Adjust the tilt legs to the specified angle using a torque wrench and angle gauge. Ensure legs are evenly spaced and aligned with the rail system. Tighten all bolts securely after setting the desired angle. Proper alignment prevents uneven stress on the system. Regularly inspect and adjust tilt legs to maintain precise geometry. Incorrect angles can lead to reduced efficiency or structural issues. Follow the manufacturer’s guidelines for angle adjustment to ensure system performance and durability.
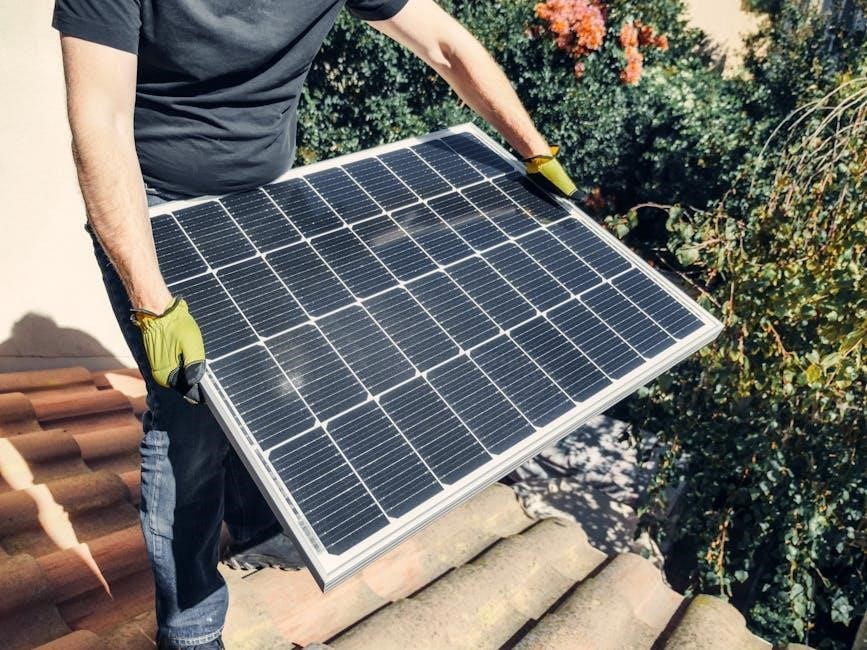
4.4 Securing the Solar Panels
After aligning the solar panels with the mounting frame, insert the panels into the clamps, ensuring they fit securely. Tighten the clamps evenly using a torque wrench to the manufacturer’s specified torque value. Verify that the panels are level and properly seated. Double-check the alignment to avoid uneven stress. Ensure all wiring is safely routed and secured to prevent damage. Once panels are in place, perform a final inspection to confirm they are firmly attached and evenly spaced. This step is crucial for maintaining system stability and maximizing energy production. Always follow the manufacturer’s guidelines for securing panels to ensure a safe and efficient installation.
Design and Engineering Considerations
Ensure load calculations account for wind, snow, and seismic forces. Conduct structural analysis to verify system integrity. Design must comply with UL 3741 standards for safety and certification. Use Unirac’s U-Builder tool for accurate rail spans and layout configurations. Always verify local building codes and regulations to ensure compliance. Proper engineering ensures system stability, efficiency, and long-term performance. Consult Unirac’s design guide for specific requirements and recommendations.
5.1 Referencing the Design and Engineering Guide
The Design and Engineering Guide is essential for ensuring compliance with structural and safety standards. It provides detailed load calculations, wind and snow load requirements, and system specifications. Use the guide to verify component compatibility and ensure proper rail spans and module placement. It also outlines UL 3741 compliance requirements for grounding and bonding. Always refer to the guide for specific installation scenarios, such as uneven rooftops or unique structural conditions. Failure to follow the guide may result in system instability or non-compliance with safety regulations. Consult the guide for engineering recommendations and best practices to ensure a safe and efficient installation process.
5.2 Using U-Builder for Rail Spans and Layout
U-Builder is a powerful tool for designing solar mounting systems, enabling precise calculations for rail spans and layout configurations. It streamlines the planning process by evaluating roof dimensions, load requirements, and module orientation to optimize system performance. Enter project-specific data, such as roof length, width, and desired array layout, to generate accurate rail spans and spacing. The tool ensures compliance with structural and safety standards, providing detailed reports for installation. Use U-Builder to visualize the layout, identify potential issues, and export plans for seamless execution. Proper utilization of U-Builder ensures a durable and efficient installation, aligning with the Unirac NXT system’s design principles.
5.3 Compliance with UL 3741 Standards
Compliance with UL 3741 standards is critical for ensuring the safety and reliability of solar mounting systems. The Unirac NXT system is designed and tested to meet these standards, which cover requirements for solar photovoltaic mounting systems; UL 3741 ensures that the system can withstand environmental stresses, such as wind and seismic forces, while maintaining electrical safety. During installation, verify that all components are UL-certified and follow the specified mounting configurations. Adherence to these standards guarantees a secure and durable installation, protecting both the system and property. Proper compliance also facilitates acceptance by authorities having jurisdiction, ensuring a code-compliant solar installation.
Post-Installation Steps
Post-installation steps ensure system reliability and safety. Final inspections verify all connections and components. Testing confirms proper functionality. Documentation and handover complete the process.
6.1 Final Tightening of All Connections
Final tightening ensures all connections are secure and meet torque specifications. Use a torque wrench to verify bolts and fasteners are properly tightened. Refer to the manual for specific torque values. Inspect all hardware, including rail splices and roof attachments, to ensure they are snug and aligned. Double-check tilt legs and solar panel clamps for tightness. This step is critical for system stability and safety. Properly tightened connections prevent loosening over time and ensure optimal performance. Follow the recommended sequence to avoid missing any components. Final tightening is the last step before system inspection and testing.
6.2 Inspection and Testing
After final tightening, inspect the entire system to ensure all components are properly installed and aligned. Check rail levels, panel alignment, and tilt leg angles. Verify that all connections are secure and meet specified torque values. Use a torque wrench to confirm tightness. Inspect roof attachments for proper sealing and alignment. Ensure solar panels are securely fastened and evenly spaced. Conduct electrical testing to verify system functionality. Refer to the manual for specific testing procedures. Address any issues found during inspection to ensure system performance and safety. Proper inspection and testing are critical for long-term reliability and compliance with installation standards.
6.3 Documentation and Handover
Document the entire installation process, including dates, materials used, and system settings. Maintain detailed records of torque values, alignment measurements, and electrical connections. Prepare a comprehensive handover package for the client, including system diagrams, manuals, and warranty information. Ensure all documentation is organized and easily accessible. Conduct a final walkthrough with the client to explain system operation, maintenance, and safety procedures. Provide contact information for support and service inquiries. Ensure compliance with all documentation requirements for warranty validation. Proper documentation and handover are essential for system accountability and future maintenance. This step ensures a smooth transition and client satisfaction.
Code Compliance and Certifications
Unirac NXT meets ISO certifications, ensuring quality and reliability. It complies with UL 3741 standards for solar mounting systems and adheres to local building codes.
7.1 ISO Certifications for Unirac Products
Unirac products, including the NXT system, are certified under ISO standards, ensuring high-quality manufacturing and performance. ISO 9001 certification guarantees a robust quality management system, while ISO 14001 acknowledges environmental management practices. Additionally, ISO 45001 certification highlights commitment to workplace safety and health. These certifications validate Unirac’s dedication to global standards, ensuring reliability, sustainability, and safety in its solar mounting solutions. Compliance with these standards is verified through rigorous audits and testing, providing customers with confidence in the durability and performance of the NXT system for solar installations.
7.2 Meeting Local Building Codes
Ensuring compliance with local building codes is critical for a safe and lawful solar installation. The Unirac NXT system is designed to meet or exceed national and international standards, but installers must verify compliance with local regulations. This includes obtaining necessary permits, adhering to structural requirements, and passing inspections. Local codes may vary, so it’s essential to consult with local authorities and ensure the system’s design and installation align with specific jurisdictional requirements. Failure to comply can result in fines, system removal, or unsafe conditions. Always reference local building codes and Unirac’s design guidelines to ensure a compliant and durable installation.
Troubleshooting Common Issues
Identify and address common installation issues, such as alignment problems, loose connections, or electrical faults. Regularly inspect components and refer to the manual for solutions.
8.1 Addressing Installation Errors
When encountering installation errors, first identify the root cause, such as incorrect fastening or misaligned components. Refer to the manual for torque specifications and proper alignment. Ensure all bolts and screws are tightened to the recommended torque using a calibrated wrench. Verify rail splices are secure and level. If tilt legs are improperly angled, adjust them according to the system’s geometry requirements. Double-check all connections for tightness and alignment. Use alignment tools to ensure rails are properly seated. If issues persist, consult Unirac’s troubleshooting guide or contact technical support; Always re-inspect the system after corrections to ensure stability and performance.
8.2 Solving Alignment and Leveling Problems
Alignment and leveling issues can be resolved by first ensuring the roof surface is even and properly prepared. Use a spirit level to verify rail alignment and adjust as needed. If rails are uneven, check for loose connections or incorrect splicing. Shim plates can be used to compensate for uneven surfaces. Ensure tilt legs are installed at the correct angle, following the manufacturer’s specifications. Double-check all bracket positions and tighten any loose bolts. Use alignment tools to guide rail installation and maintain consistency. After adjustments, re-inspect the system with a laser level to confirm accuracy. Consult the troubleshooting guide or contact Unirac support if alignment persists;
Best Practices for Installers
Always adhere to manufacturer guidelines and ensure proper planning before installation. Use high-quality tools and materials to maintain system integrity. Regularly inspect and maintain equipment to prevent wear and tear.
9.1 Following Manufacturer Guidelines
Adhering to Unirac’s installation manual ensures compliance with safety standards and system performance. Always reference the latest NXT manual for specific instructions and updates. Properly follow torque specifications and tightening sequences to avoid component damage. Use only Unirac-approved tools and materials to maintain warranty validity. Ensure all installers are trained on NXT components and best practices. Regularly review manufacturer updates and technical bulletins for improved installation techniques. Misalignment or incorrect fastening can lead to system failure, so double-check every connection. By following guidelines, installers can ensure a safe, efficient, and durable solar mounting system.
9.2 Ensuring Long-Term System Durability
To ensure the long-term durability of the Unirac NXT system, proper installation and maintenance practices are essential. Use only high-quality, weather-resistant materials to withstand environmental conditions. Regularly inspect and clean the system to prevent debris buildup, which can cause overheating or structural stress. Tighten all connections periodically to maintain stability and prevent loosening over time. Protect electrical components from moisture and corrosion by sealing them appropriately. Follow the recommended maintenance schedule outlined in the manual to address potential issues early. By prioritizing system care and adhering to best practices, installers can maximize the lifespan and performance of the Unirac NXT mounting system.
Ensuring the successful installation of the Unirac NXT system requires careful adherence to the guidelines outlined in this manual. Proper execution guarantees optimal performance and long-term safety.
10.1 Summary of Key Installation Steps
The Unirac NXT installation process begins with site assessment and planning, ensuring compatibility and safety. Gather all necessary tools and materials, adhering to safety protocols. Install roof attachments securely, followed by rail installation and splicing. Adjust tilt legs to achieve optimal angles, then mount and secure solar panels tightly. Conduct final inspections and testing to verify system integrity. Document all steps and ensure compliance with local codes and certifications. Proper execution of these steps ensures a reliable, durable, and high-performing solar mounting system, meeting both safety and efficiency standards.
10.2 Importance of Proper Installation
Proper installation of the Unirac NXT system is critical for ensuring safety, efficiency, and long-term performance. Correctly securing roof attachments, aligning rails, and adjusting tilt legs prevents structural risks and ensures optimal energy production. Proper installation minimizes the risk of electrical hazards, system damage, and environmental stress. It also guarantees compliance with industry standards and manufacturer guidelines, which are essential for certification and warranty validation. A well-executed installation enhances durability, reducing maintenance needs and extending the system’s lifespan. By following detailed instructions and best practices, installers can deliver a reliable, high-performing solar mounting solution that meets both functional and safety expectations.