Setting up a party tent is essential for creating a safe and enjoyable outdoor event space. Proper installation ensures stability, while various styles and sizes cater to different needs, offering durability and versatility for gatherings of all kinds. Always follow manufacturer guidelines and consider local regulations for a secure setup.
1.1 Importance of Proper Installation
Proper installation of a party tent is crucial for ensuring safety, structural integrity, and protection from weather conditions. A well-installed tent prevents collapse, provides a stable shelter, and enhances the overall event experience. Neglecting proper setup can lead to accidents, damage, or discomfort, making it essential to follow guidelines carefully to ensure a secure and enjoyable environment for all guests.
1.2 Brief Overview of Party Tent Styles and Sizes
Party tents come in various styles and sizes to suit different events. Popular options include pop-up, frame, and pole tents, ranging from small 3x3m canopies to large 10x20m structures. Styles like gazebos and marquees offer unique designs, while sizes are chosen based on guest capacity and space availability. Selecting the right style and size ensures optimal functionality and aesthetic appeal for any gathering, whether casual or formal.

Preparing the Setup Location
Preparing the setup location involves selecting a flat, dry area and clearing debris. Ensure the ground is level and firm for stability. Remove obstacles and vegetation to create a smooth surface, allowing the tent to sit evenly and securely. Proper preparation ensures a safe and stable foundation for your party tent.
2.1 Choosing the Perfect Spot
Choosing the perfect spot involves selecting a flat, dry area with good drainage. Avoid low-lying spots to prevent water pooling. Ensure the location is clear of obstructions like rocks or trees. Check for underground utilities and overhead obstacles. Opt for a spot with partial shade to regulate temperature. Ensure the area is large enough to accommodate the tent and any additional space needed for activities or accessories. Proper placement ensures stability and functionality.
2.2 Clearing and Leveling the Ground
Clear the area of debris, rocks, and vegetation to ensure a smooth setup. Use a rake or shovel to level the ground, removing uneven spots. Check for soft or soggy patches and firm them up. Lay a ground tarp to protect the tent and create a barrier against moisture. Proper leveling prevents the tent from shifting and ensures even weight distribution, crucial for stability and safety during events.

Unpacking and Organizing Equipment
Begin by carefully unpacking all components, including poles, canopy, stakes, and ropes. Organize items to ensure easy access and efficient assembly, following the instruction manual.
3.1 Identifying Tent Components
Start by identifying all tent components, including frame poles, roof beams, canopy fabric, stakes, ropes, connectors, and a ground tarp. Ensure each part is accounted for to avoid missing pieces. Refer to the instruction manual for part identification and assembly order. Proper identification ensures a smooth setup process and prevents delays. Organize components by type for easy access during assembly. This step is crucial for efficient and correct tent construction. Always verify the condition of each part before proceeding.
3.2 Lay Down a Ground Tarp
Begin by laying a durable ground tarp to protect the tent from moisture and abrasion. Ensure the tarp is large enough to cover the entire tent footprint. Clear the area of debris and level the ground before placing the tarp. Secure the tarp with stakes or weights to prevent shifting. A properly laid tarp ensures a dry and stable base for your party tent, extending its lifespan and enhancing safety. Always smooth out wrinkles for an even surface.

Assembling the Tent Frame
Start by placing the baseplates and connecting the poles securely. Attach the roof beams to the frame, ensuring all parts fit tightly. Follow the manufacturer’s sequence for a sturdy structure.
4.1 Step-by-Step Frame Assembly
Begin by attaching the tent poles to the baseplates, ensuring they click securely into place. Connect the side rails and cross members to form the perimeter. Next, align the roof beams and attach them to the top of the upright poles. Use a rubber mallet to tighten all connections firmly. Double-check that the frame is square by measuring diagonals. Finally, ensure all joints are snug and the structure is stable before proceeding.
4.2 Attaching Roof Beams and Canopy
Lay the canopy over the assembled frame, ensuring it is centered and evenly spread. Attach the roof beams to the frame’s top connectors, securing them with the provided clips or hooks. Tighten all straps and ropes to remove slack. Check that the canopy is taut and evenly aligned. Measure diagonally to ensure the canopy is square. Finally, tighten all connections firmly to guarantee a snug and stable fit, preventing any sagging or flapping.

Securing the Tent
Ensure the tent is tightly anchored using high-quality stakes and ropes. Check all straps and connections for firmness, preventing any loose areas. Regularly inspect and tighten as needed to maintain stability and safety, especially in windy or snowy conditions.
5.1 Tightening the Canopy
Tightening the canopy is crucial for ensuring structural integrity. Start by removing any slack in the fabric, then pull the edges taut. Use the provided straps or ropes to secure the canopy tightly to the frame. Check all corners to ensure even tension, avoiding sagging areas. Repeat the process until the canopy is drum-tight and evenly stretched. This step prevents water pooling and enhances stability in windy conditions. Always inspect the canopy after tightening to ensure a secure fit.
5.2 Anchoring the Tent with Stakes and Ropes
Secure the tent by driving stakes into the ground at a 45-degree angle, ensuring they’re tightly fastened to the frame. Use durable ropes to tie the tent to stable anchors like trees or weights. Double-check all ropes and stakes for firmness, especially in windy conditions. Regularly inspect the anchors to ensure the tent remains stable and safe throughout the event. Proper anchoring prevents shifting or collapse, ensuring a secure setup.

Weatherproofing and Safety Measures
Ensure the tent is secured against wind and rain, with proper drainage and regular snow removal. Use reinforced stakes and weighted anchors for stability and safety.
6.1 Securing the Tent in Windy Conditions
To secure the tent in windy conditions, use weighted anchors and reinforced stakes for stability. Tension ropes tightly and ensure the canopy is evenly spread. Monitor weather forecasts and evacuate if extreme winds are expected. Regularly inspect and tighten all connections to prevent damage. Proper securing ensures safety and prevents structural failure during windy events.
6.2 Regular Snow Removal
Regular snow removal is crucial to maintain tent stability during winter events. Use a soft-bristle brush or broom to gently clear snow from the canopy, avoiding harsh tools that might damage fabric. Ensure even distribution of weight and check for ice buildup, which can compromise structural integrity. Prompt removal prevents collapse and ensures the tent remains secure throughout snowy conditions.

Maintenance and Storage
Proper maintenance and storage are vital for extending your party tent’s lifespan. Clean and dry the tent thoroughly before storing it in a cool, dry place. Always inspect for damage before storage to ensure durability and readiness for future events.
7.1 Cleaning and Drying the Tent
Cleaning and drying are crucial for maintaining your party tent’s condition. Use mild soap and water to scrub the fabric, avoiding harsh chemicals. Rinse thoroughly and allow the tent to air dry completely to prevent mold. Inspect for any damage or stains and address them promptly. Regular cleaning ensures longevity and keeps the tent looking its best for future events.
7.2 Proper Storage Techniques
Store your party tent in a cool, dry place to prevent moisture damage. Fold the tent neatly and place it in a sturdy storage bag to protect it from dust and pests. Avoid compressing the tent excessively, as this can damage the frame or fabric. Label the storage container for easy identification and keep it away from direct sunlight to maintain the tent’s integrity for future use;

Creative Decoration Ideas
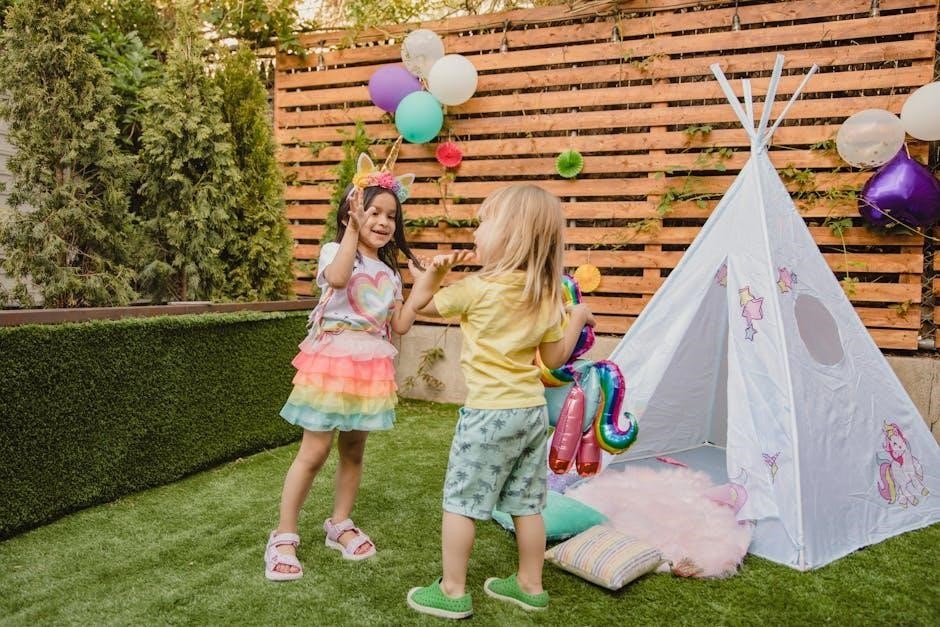
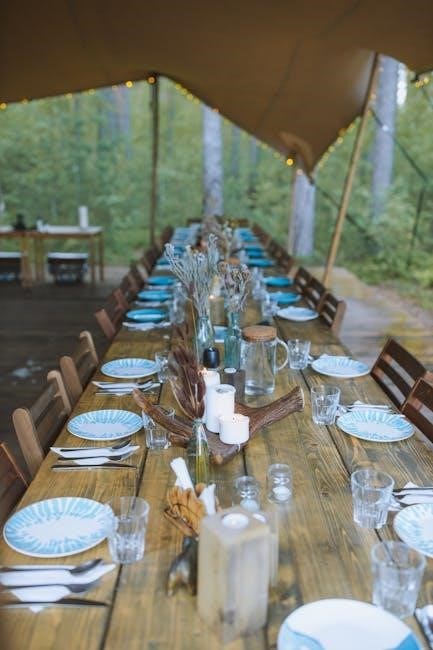
Transform your party tent into a vibrant space with DIY decor, themed setups, and lighting. Use tablecloths, runners, and floral arrangements to create a whimsical or elegant atmosphere, perfect for birthdays, weddings, or jungle safari themes, ensuring a memorable event for all guests.

8.1 DIY Tent Decor for Parties
Transform your tent into a unique party space with DIY decor. Use LED lights, garlands, and themed decorations like floral arrangements or jungle elements. Add personalized banners and creative handmade crafts. Incorporate printed decorations or themed backdrops to enhance the atmosphere. These simple yet imaginative ideas will make your event stand out and reflect your personal style or party theme.
8.2 Themed Party Setup Inspiration
Create a memorable atmosphere with themed setups. Opt for a jungle safari theme using tablecloths, runners, and tropical decorations. For weddings, add elegance with fairy lights and floral arrangements. Consider a rustic or vintage theme with burlap and lanterns. Themed parties like tropical or Hollywood glam can also elevate your event. Use props, banners, and matching color schemes to align with your chosen theme for a cohesive and immersive experience.

Troubleshooting Common Issues
Identify and address issues early to prevent escalation. Common problems include frame malfunctions, torn canopies, and unstable structures. Carry a repair kit for quick fixes.
9.1 Addressing Frame Malfunctions
Frame malfunctions often occur due to improper assembly or damaged parts. Inspect all connections and tighten loose joints. Replace bent or broken poles immediately. Ensure all segments align correctly and use manufacturer-recommended tools for adjustments. If issues persist, consult the instruction manual or contact professional support for assistance. Regular maintenance can prevent such problems from arising during events.
9.2 Repairing Tears or Holes
Identify the tear location and clean the area to ensure a proper repair. Use a patch kit or heavy-duty adhesive tape specifically designed for tents. Apply the patch firmly, ensuring it covers the entire hole. For larger tears, sew the fabric with a heavy-duty needle and thread, then reinforce with tape. Regularly inspect and repair damage to maintain the tent’s structural integrity and water resistance.
After completing the setup, perform a final inspection to ensure all components are secure and stable. Double-check the frame, stakes, and ropes for tightness. Verify the tent is level, the canopy is taut, and all safety measures are in place. Make any necessary adjustments to guarantee a safe and enjoyable event space.
10.1 Ensuring Stability and Safety
Ensure the tent is stable by checking all stakes and ropes are tightly secured. Inspect the frame for any damage or misalignment. Tighten the canopy evenly to prevent sagging. Verify the ground is level and the tent is evenly weighted. In windy conditions, double-check anchors and weights. Regularly inspect the tent during the event for any signs of instability or damage. Clear escape routes and ensure easy access for emergencies to guarantee a safe and enjoyable experience.
10.2 Final Inspection Before Use
Conduct a thorough inspection to ensure all components are secure and properly aligned. Check for any damage, sagging, or loose connections. Ensure the tent is level and evenly weighted. Verify that all stakes and ropes are tightly secured. Inspect the canopy for tears or holes and ensure it is evenly tightened. Clear any debris and ensure exit routes are unobstructed. This final check guarantees a safe and functional space for your event.